

How to complete your verification
A step-by-step guide through the aIDentix verification process — fast, secure, and straightforward.
Getting started
What to expect before you begin
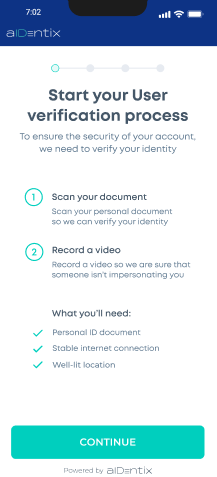
Review the steps ahead
When you open the verification link, the app shows you a summary of all steps you'll complete: scanning your document, recording a short video, and filling out a questionnaire. Make sure you have your ID document, a stable internet connection, and are in a well-lit space.
 Steps overview
Agree to terms & conditions
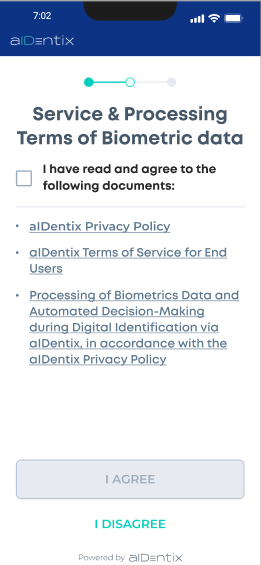
Before proceeding, you must review and agree to the aIDentix Privacy Policy, Terms of Service for End Users, and the Processing of Biometric Data and Automated Decision-Making policy. Read each document, tick the checkbox to confirm, then tap I Agree.
 Before agreeing
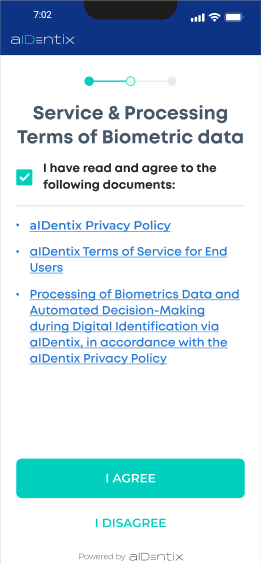 Ready to proceed
Step — Document verification
Scan both sides of your ID card or data page of your passport
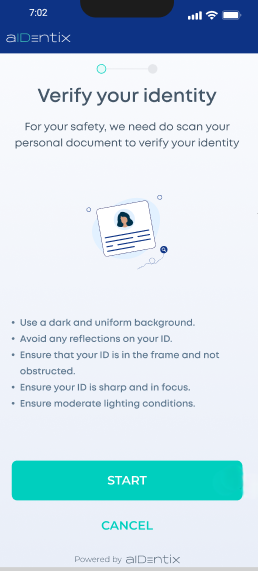
Read the capture guidelines
The app displays tips for a successful scan. Follow these before tapping Start:
- Use a dark and uniform background
- Avoid any reflections on your ID
- Ensure your ID is fully within the frame and not obstructed
- Keep your ID sharp and in focus
- Use moderate lighting — not too bright, not too dim
Tips for a great photo
Daylight near a window works best. Avoid direct overhead light that creates harsh shadows.
Place your ID on a dark desk or cloth with no patterns. This gives the app strong contrast to detect the edges.
Keep your phone flat and directly above the ID — not tilted. Angled shots distort text and edges.
Hold your breath for a moment and keep your hand steady. Even a small shake causes blur.
Laminated IDs reflect light strongly. If you see a white patch on the preview, shift the angle slightly.
Fingers over corners or edges prevent the app from reading the full document.
 Capture guide
Allow camera access
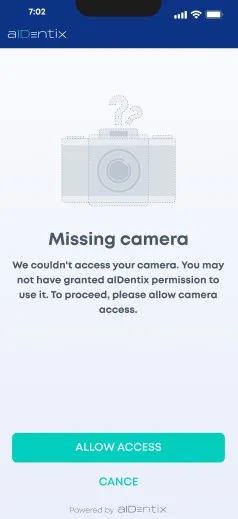
Before scanning, aIDentix needs access to your device camera. When prompted, tap Allow. If you previously denied permission, a "Missing camera" screen will appear — tap Allow Access, grant permission in your device settings, then return to the app.
 Camera not granted
Android: Settings → Apps → browser/app → Permissions → Camera → Allow.
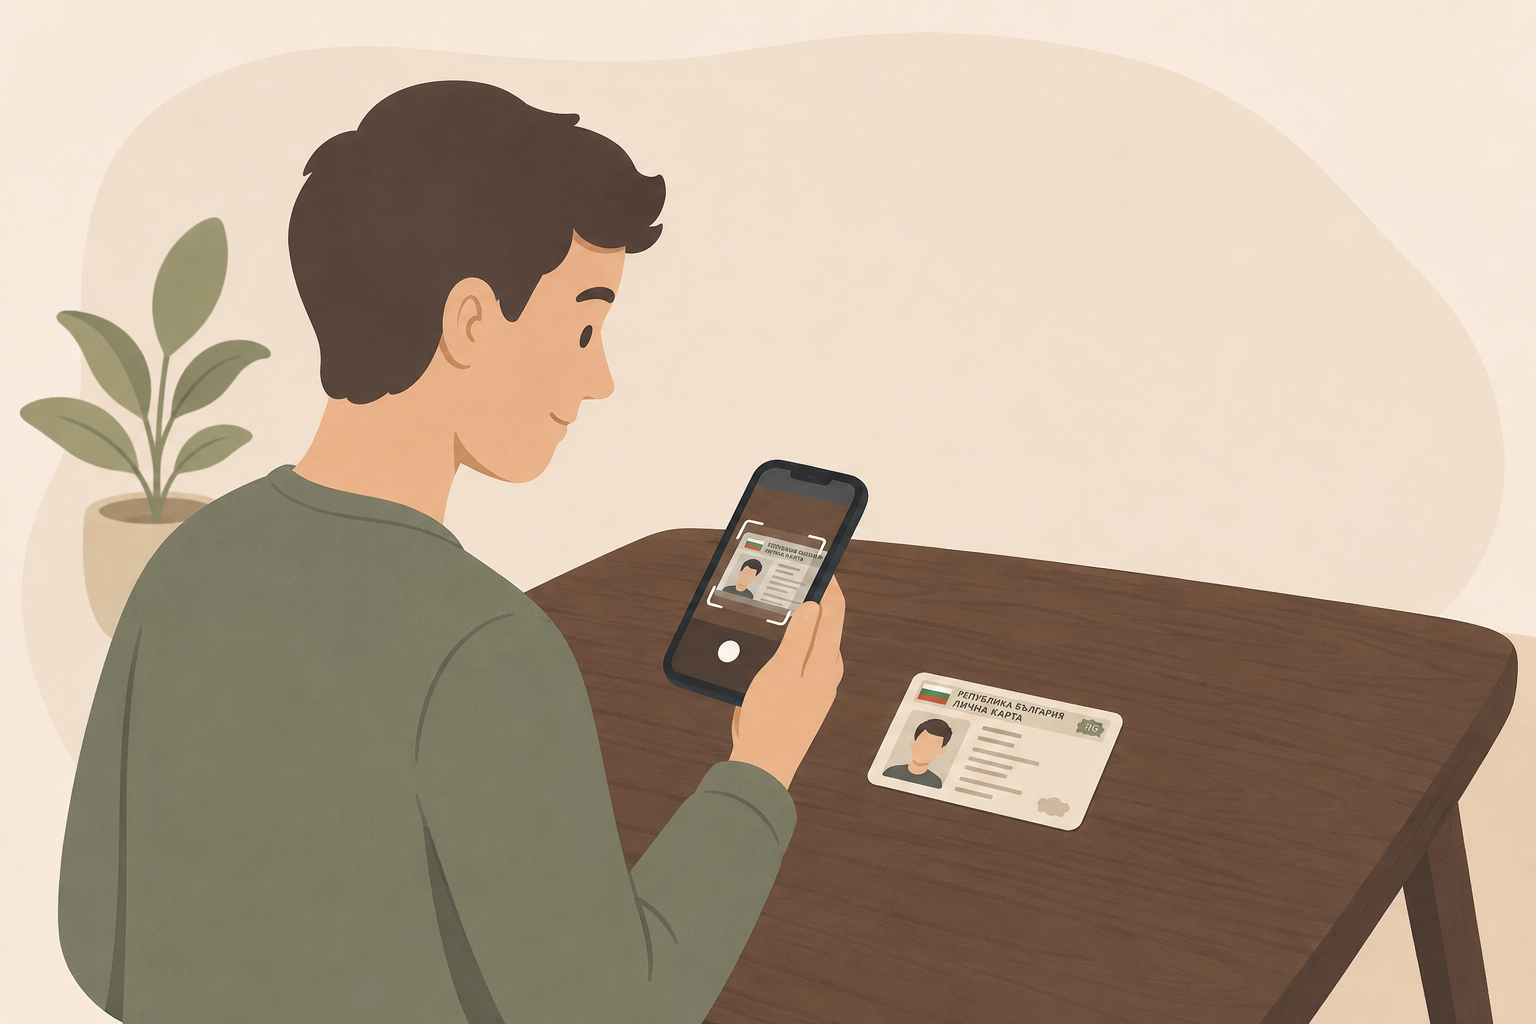
Scan the front side
Place the front side of your ID card or passport within the on-screen rectangle. Hold your phone steady — the app will capture the image automatically when the document is correctly positioned.
Confirm the image quality
Once captured, the app asks: "Is the document readable?" Check that the image is free of glare, legible, and not blurry. If it looks good, tap Yes. If not, tap No to retake.
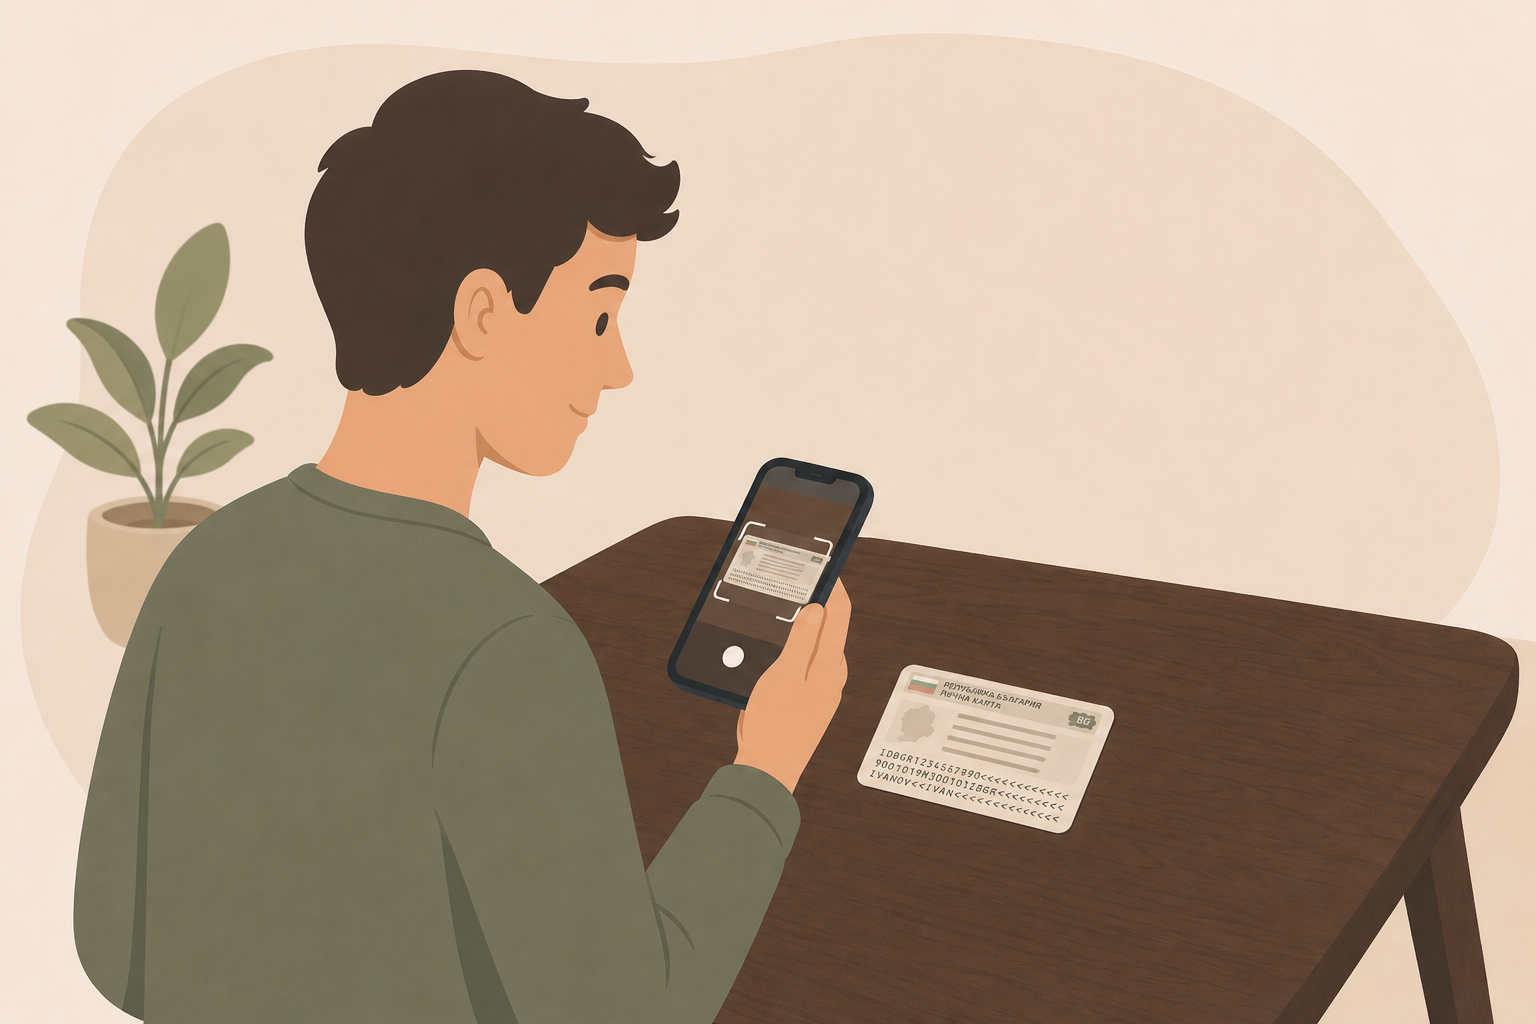
Scan the back side
Flip your ID card and place the back side within the rectangle. The process is the same — hold steady and let the app capture automatically.
Confirm the back image quality
Confirm that the back image is also clear and legible. Tap Yes to proceed.
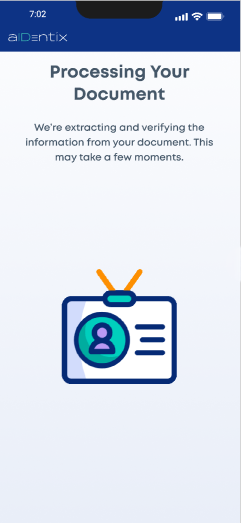
Document processing
The app extracts and verifies the information from your document. This takes only a few moments — please keep the app open.
 Processing
Result — success or retry
If the document is verified successfully, the process advances to the next step automatically. If the scan fails, you'll see an error screen with a checklist — tap Retry to scan again following the tips shown.
Step — Liveness check
A short video to confirm you are present in person
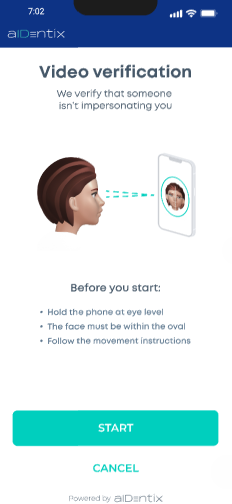
Read the video verification instructions
The app explains that liveness verification confirms no one is impersonating you. Before starting, follow these rules:
- Hold the phone at eye level
- Keep your face within the oval on screen
- Follow the movement instructions that appear
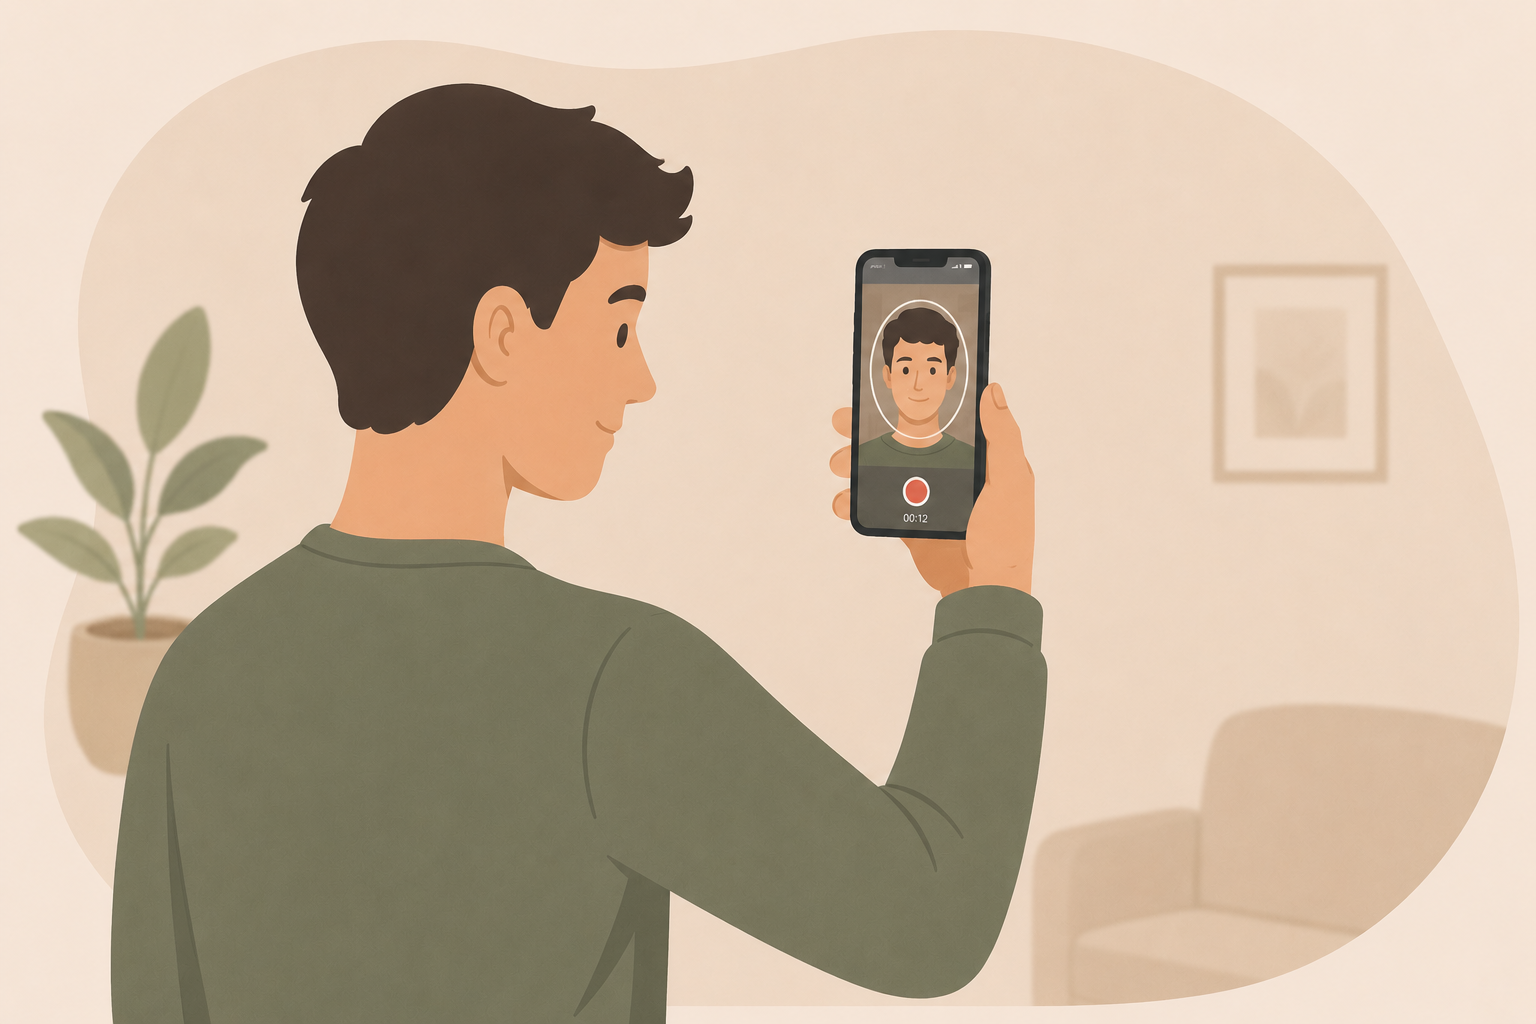
Tips for a smooth liveness check
Face a light source (a window or lamp in front of you). Avoid backlit rooms where your face appears dark.
Keep your elbow slightly bent and your arm steady. Resting it against a surface helps reduce shake.
Smooth, controlled movements are detected much more reliably than quick ones. Take your time.
Any accessory that covers part of your face may prevent the system from completing the check.
A plain, well-lit background helps the app isolate your face correctly.
Stay seated or stand still. Walking or swaying makes the check harder to complete.
 Instructions
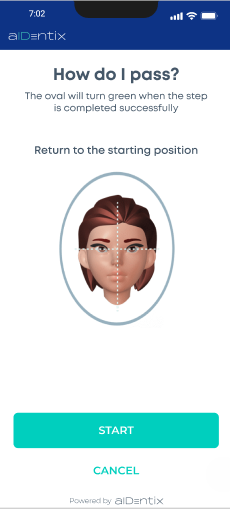 How do I pass?
Position your face
When you tap Start, the camera opens with an oval guide on screen. Position your face so it fits naturally inside the oval. The app may ask you to return to a neutral position first.
Follow the on-screen movement instructions
The app will guide you through a series of movements. Instructions appear as text and arrows in real time. Typical movements include:
Slowly turn your head to the left
Slowly turn your head to the right
Tilt your head upward slightly
Tilt your head downward slightly
Return to the neutral starting position
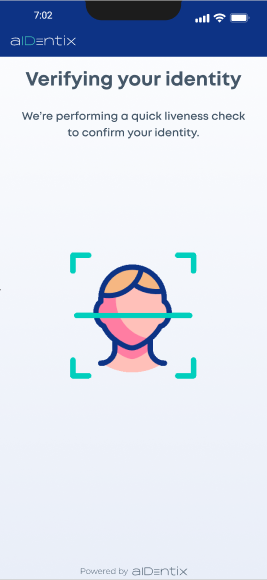
Liveness verification processing
Once all movements are complete, the app processes the video. This is automatic and takes only a few seconds. The process then advances to the next step.
 Verifying
Step — Questionnaire
Provide additional information to meet regulatory requirements
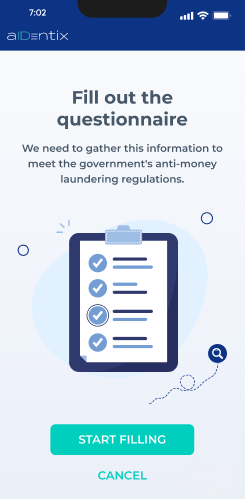
Start the questionnaire
The app explains that this information is required to meet anti-money laundering (AML) regulations. Tap Start Filling to begin. All questions are mandatory — you cannot skip ahead without answering the current section.
 Questionnaire intro
Answer all sections
Questions are grouped into sections (for example, Employment and profession). Depending on the process configured for you, you may encounter four types of questions:
Tap the field and select one option from a list.
Choose one answer from a set of visible options.
Choose one or more applicable answers.
Type a value directly into the field.
Verification result
What happens at the end of the process
Once all steps are complete, the app displays the outcome of your verification request.
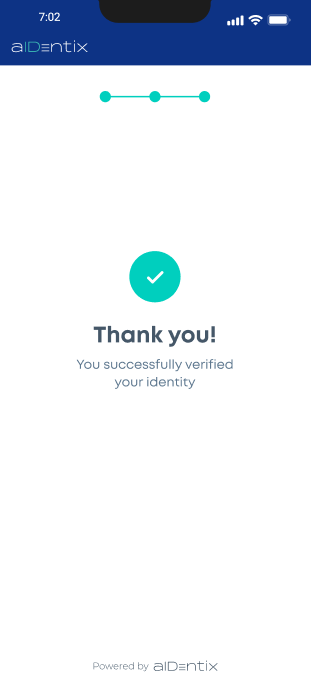
Verified successfully
You'll see a confirmation screen with a green checkmark and a "Thank you!" message. Your identity has been confirmed and the process is complete.
Verification unsuccessful
If the request could not be approved, you'll see an error screen. Contact the organization that sent you the verification link for next steps.
 Success screen
Cancelling & withdrawing consent
You can stop at any time
You can leave at any point
A Cancel button appears on most screens throughout the process. Tapping it will ask for confirmation before ending the session.
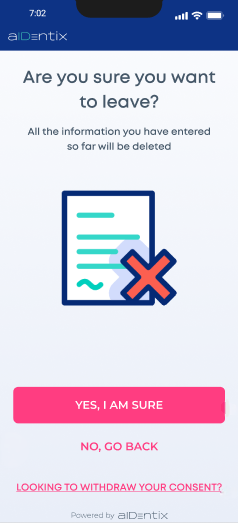
Tap Cancel on any screen
Whenever a Cancel button is visible, tapping it will bring up a confirmation screen asking: "Are you sure you want to leave?" It informs you that all information entered so far will be deleted. Tap Yes, I am sure to exit, or No, go back to continue your verification.
 Leave confirmation
Withdraw your consent
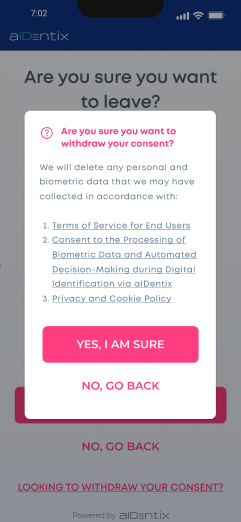
If you wish to withdraw the consent you gave at the start, tap the Looking to withdraw your consent? link at the bottom of the cancel screen. A dialog will confirm that all your personal and biometric data collected will be deleted in accordance with the aIDentix Privacy Policy, Terms of Service for End Users, and the Biometric Data Processing policy.
 Withdraw consent
Troubleshooting
Common issues and how to resolve them
System temporarily unavailable
If you see a "Temporarily Unavailable" screen, the aIDentix service is momentarily down. Tap Try Again after a short wait. If the issue persists, try reopening the verification link or contact the organisation that sent it to you.
 System unavailable
Document scan keeps failing
Ensure you are in a well-lit room (natural light works best), using a dark, non-reflective surface as background. Clean the camera lens and hold the phone parallel to the document — avoid tilting. If your ID is laminated, reduce the glare by adjusting the angle slightly.
Liveness check not progressing
Move slowly and deliberately — fast movements are not detected reliably. Ensure your face is well-lit and fully visible (no hat, sunglasses, or mask). Hold each position until the oval turns green before continuing to the next movement.
Poor or unstable internet connection
aIDentix requires a stable internet connection to process your document and liveness check. If the process stalls or fails unexpectedly, check your connection — switch from mobile data to Wi-Fi or vice versa, move closer to your router, and try again. Avoid starting the verification in areas with weak signal.
Outdated operating system
Running an older version of iOS or Android may cause compatibility issues with the camera or the verification process. Make sure your device is up to date before starting.
iPhone: Settings → General → Software Update.
Android: Settings → System → System update.
None of the above worked?
If you've tried all the steps above and the issue persists, please contact the organisation that initiated your verification. They will be able to assist you further or provide an alternative way to complete the process.